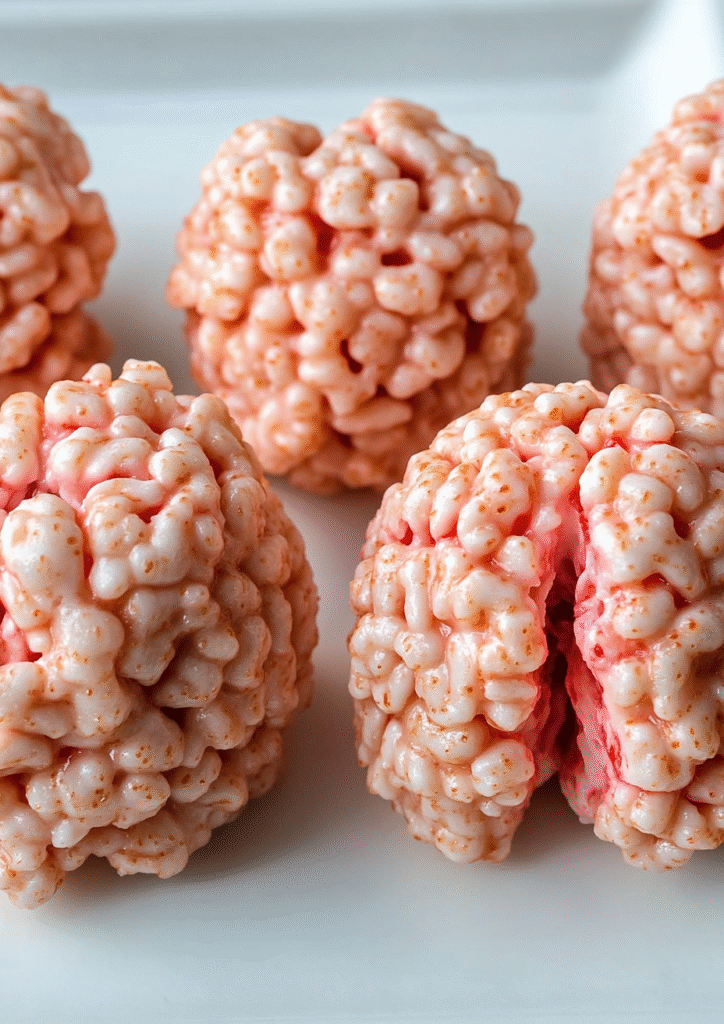
Halloween is the perfect time to get creative in the kitchen, and these Marshmallow Rice Krispies Halloween Brains (also called “Bubbles”) are a spooky twist on a classic favorite. They’re chewy, crispy, and shaped to look like brains—perfect for parties, trick-or-treat bags, or a fun family activity.
This recipe is quick, budget-friendly, and requires no baking, making it ideal for busy parents or anyone looking for a festive treat without the fuss. With just a few pantry staples and some food coloring, you can whip up a dessert that’s both creepy and delicious.
Whether you’re hosting a Halloween bash, sending treats to school, or enjoying a scary movie night at home, these “brains” are sure to get laughs, photos, and lots of compliments.
Why You’ll Love This Marshmallow Rice Krispies Halloween Brains
These Halloween Rice Krispies Brains are a hit for so many reasons:
- Fast & Easy – Ready in about 30 minutes, no oven needed.
- Kid-Friendly – Fun for little hands to help shape and decorate.
- Customizable – Add food coloring, icing “veins,” or candy for unique looks.
- Budget-Friendly – Simple ingredients make a big batch without spending much.
- Crowd-Pleasing – They’re spooky enough to impress but taste like the nostalgic Rice Krispies treat everyone loves.
In short, they’re simple, creative, and perfect for any Halloween occasion.
What You’ll Need
To make these Halloween Brains, you’ll need just a handful of simple ingredients:
- 6 cups Rice Krispies cereal
- 1 bag (10 oz) mini marshmallows
- 3 tablespoons unsalted butter
- Red or pink food coloring (for the “brain” look)
- Cooking spray or a little extra butter (for greasing hands)
- Optional: red gel icing or candy melts for “veins”
That’s it! Affordable, easy-to-find, and probably already in your kitchen.
How to Make Marshmallow Rice Krispies Halloween Brains
- Melt Butter & Marshmallows
In a large saucepan, melt 3 tbsp butter over low heat. Add 10 oz mini marshmallows and stir until smooth. - Add Color
Mix in 4–6 drops of red or pink food coloring until you get a brain-like shade. - Mix Cereal
Stir in 6 cups Rice Krispies cereal until evenly coated. - Shape the Brains
Lightly grease your hands. Scoop small portions and form into oval “brain” shapes. Use fingers or a spoon to create slight grooves to mimic brain folds. - Decorate (Optional)
Drizzle with red gel icing or melted candy to add “veins” for an extra creepy effect.
Let them cool on wax paper for 15–20 minutes before serving.
You Must Know
Before you dive in, here are a few key things to keep in mind:
- Work Quickly: Once the marshmallow mixture is ready, it sets fast. Have your cereal measured and workspace prepared in advance.
- Grease Your Hands: Sticky hands make shaping tough. A little butter or non-stick spray will keep the mixture from clinging.
- Portion Control: Smaller “brains” are easier to shape and serve. Aim for golf-ball to egg-sized portions.
- Food Coloring Strength: Start with a few drops of coloring and add more if needed—you don’t want neon pink unless that’s your goal.
- Kids’ Safety: The mixture will be hot at first, so let it cool slightly before little hands get involved.
Perfecting the Cooking Process
Getting the right texture and look is all about balance:
- Low Heat is Key: Melt the butter and marshmallows slowly. High heat can make the mixture hard instead of chewy.
- Mix Evenly: Stir until every cereal piece is coated for a consistent shape and flavor.
- Shaping While Warm: The mixture is easiest to mold when warm. If it cools too much, it gets stiff.
- Add Details: Use a butter knife, spoon handle, or even a toothpick to press little grooves that look like brain folds.
- Chill if Needed: If your shapes aren’t holding, pop them in the fridge for 10 minutes to firm up before decorating.
Add Your Touch Marshmallow Rice Krispies Halloween Brains
One of the best things about these Rice Krispies Halloween Brains is how customizable they are. A few creative twists can make them even more fun:
- Colors: Try mixing in a drop of green with red food coloring for a darker, creepier “brain” shade.
- Filling Surprise: Hide a gummy worm or candy inside each brain for a spooky bite.
- Drizzles & Details: Use melted white chocolate dyed red to create realistic “veins.” Or add black gel icing for a Frankenstein look.
- Shapes: Instead of brains, shape them into pumpkins, eyeballs, or even little monster heads for variety.
- Toppings: Sprinkle edible glitter, candy eyes, or Halloween sprinkles for a playful finish.
Adding your personal touch makes each batch unique and memorable—plus, it’s a great way to let kids show off their creativity.
Storing & Reheating
Get inspired with holiday treats.
- Room Temperature: Place cooled brains in an airtight container with parchment between layers. They stay fresh for up to 3 days.
- Freezing: For longer storage, wrap individually in plastic wrap, then freeze in a sealed bag for up to 1 month. Thaw at room temperature before serving.
- Reheating: If they harden, microwave one for 5–10 seconds to soften. Don’t overheat or they’ll melt.
- Party Prep: Make them a day ahead, store in a cool dry place, and decorate right before serving for the freshest look.
With proper storage, you can keep these creepy-cute treats ready for whenever the Halloween spirit calls.
Chef’s Helpful Tips for Marshmallow Rice Krispies Halloween Brains
To make sure your Marshmallow Rice Krispies Halloween Brains turn out just right, here are some expert tips:
Check out more no-bake desserts.
- Use Fresh Marshmallows: Older marshmallows don’t melt as smoothly and can make the mix dry.
- Butter Balance: Don’t skip greasing your hands, bowls, and utensils—it saves a lot of sticky mess.
- Work in Batches: If making a large quantity, keep half the mixture in the pot on low heat so it stays soft while you shape.
- Texture Check: If the mix feels too sticky, add a little more cereal. If it’s too dry, melt a few extra marshmallows and stir them in.
- Decoration Trick: Use a piping bag with red gel icing to draw thin “veins” for a realistic brain effect.
Following these small tricks can make the difference between ordinary treats and spooky showstoppers.
FAQ for Marshmallow Rice Krispies Halloween Brains
Q: Can I use jumbo marshmallows instead of mini?
A: Yes! Just use about 40 jumbo marshmallows (equal to a 10 oz bag of minis). Cut them smaller for easier melting.
Explore more cozy comfort foods.
Q: Do I have to use Rice Krispies brand cereal?
A: Nope. Any crisped rice cereal works just fine.
Q: Can I make these without food coloring?
A: Absolutely. They’ll just look like classic Rice Krispies treats but still taste great.
Q: How do I keep them from sticking together when serving at a party?
A: Place them in cupcake liners or wrap individually in plastic wrap.
Q: Can I make these vegan or dairy-free?
A: Yes! Use dairy-free butter and vegan marshmallows—brands like Dandies work well.
Conclusion
These Marshmallow Rice Krispies Halloween Brains are the perfect mix of spooky and sweet. Easy to make, budget-friendly, and kid-approved, they’re a fun way to bring Halloween spirit to any party or family night. With simple ingredients and endless decorating options, they’re sure to be a treat everyone remembers. 🎃🧠

How to Make Spooky Marshmallow Rice Krispies (Bubbles) Halloween Brains
Description
Creepy, chewy, and fun! These Marshmallow Rice Krispies Halloween Brains are an easy no-bake treat, perfect for parties and kids. 🎃🧠
Ingredients
Instructions
Melt butter in a large pot over low heat.
Stir in marshmallows until smooth and fully melted.
Add food coloring and mix well.
Fold in cereal until coated.
Grease hands, shape mixture into “brains,” and add grooves.
Decorate with gel icing for spooky details.
Let cool on wax paper before serving.
Notes
- Grease hands or spoons to avoid sticking.
Work quickly while mixture is warm.
Add candy inside for a fun surprise.
Store in an airtight container for up to 3 days.