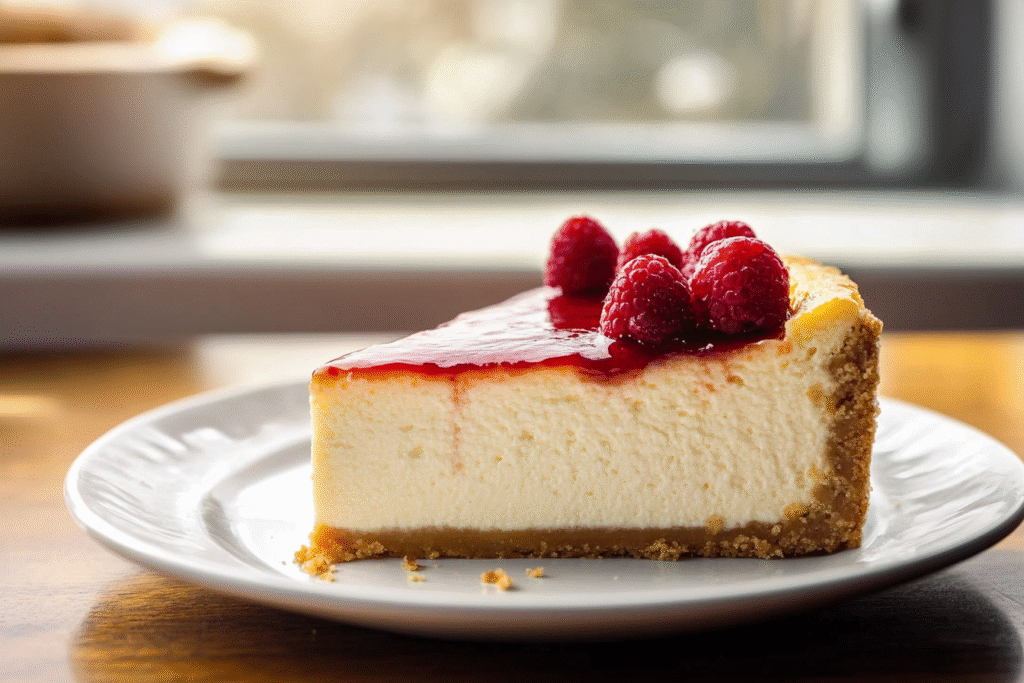
If you’re dreaming of a dessert that’s rich, creamy, tangy, and absolutely unforgettable, the New York Cheesecake is your answer. This classic American treat stands out with its dense yet silky texture and simple elegance. Made from cream cheese, eggs, sugar, and a splash of vanilla, it’s baked to golden perfection and best served chilled for maximum flavor.
Whether it’s for a holiday like Christmas or Thanksgiving, or just a weekend dessert to impress guests, this cheesecake is easy to master with the right guidance. No pork, alcohol, or processed meats here—just pure, simple ingredients for a clean and indulgent finish.
Ready to create the perfect slice? Let’s dive in.
Why You’ll Love This New York Cheesecake
This cheesecake recipe is a true crowd-pleaser—and for good reason! Its texture is incredibly creamy and smooth, with just the right amount of tang and sweetness. It’s easy to make with pantry staples, and you can prepare it ahead of time for stress-free entertaining.
Not only is it foolproof with our step-by-step instructions, but it’s also highly customizable. Add a fruit topping, a swirl of chocolate, or keep it simple—either way, it shines. Plus, it’s free from alcohol and pork-based ingredients, making it suitable for a wide variety of dietary needs.
This is the kind of dessert that looks and tastes like it came straight from a New York bakery—but you made it right at home.
What You’ll Need
To make the perfect New York cheesecake, you don’t need anything fancy—just quality ingredients and a few kitchen staples. Here’s what you’ll need:
For the crust:
- 1 ½ cups graham cracker crumbs
- 2 tbsp granulated sugar
- 6 tbsp unsalted butter, melted
For the filling:
- 4 (8 oz) blocks full-fat cream cheese, softened
- 1 cup granulated sugar
- 1 cup sour cream
- 1 tsp vanilla extract (non-alcoholic if preferred)
- 4 large eggs
- 2 tbsp all-purpose flour
- ¼ cup heavy cream
You’ll also need:
- 9-inch springform pan
- Mixing bowls
- Electric mixer (hand or stand)
- Roasting pan (for the water bath)
- Aluminum foil
Using full-fat cream cheese and sour cream is key to achieving that signature creamy richness. For the crust, graham crackers are classic, but you can sub in digestive biscuits or a gluten-free version if needed.
How to Make New York Cheesecake
Step 1: Prep the crust
In a bowl, combine 1½ cups graham cracker crumbs, 2 tbsp sugar, and 6 tbsp melted butter. Press the mixture into a 9-inch springform pan. Bake at 325°F for 10 minutes, then cool.
Step 2: Mix the filling
In a large bowl, beat 4 blocks of softened cream cheese until smooth. Add 1 cup sugar, 2 tbsp flour, and mix. Blend in 1 cup sour cream and 1 tsp vanilla extract. Add 4 eggs, one at a time, mixing gently after each. Finish by folding in ¼ cup heavy cream.
Step 3: Prepare for baking
Wrap the outside of your springform pan in foil to prevent leaks. Pour the filling over the cooled crust. Place the pan into a large roasting pan and fill halfway with hot water for a water bath.
Step 4: Bake
Bake at 325°F for 1 hour and 15 minutes, or until edges are set but the center jiggles slightly. Turn off the oven and let the cheesecake sit inside with the door slightly open for 1 hour.
Step 5: Chill
Remove from oven, cool completely, then chill for at least 6 hours (overnight is best).
You Must Know
Before diving headfirst into your cheesecake adventure, there are a few important things every home baker should know to avoid common pitfalls and ensure a bakery-quality result.
Room temperature matters. Cold cream cheese or eggs can cause lumps in your batter and lead to overmixing. Always let your cream cheese, sour cream, eggs, and even heavy cream sit out for at least 30 minutes before mixing. This ensures a smoother batter and better texture.
Don’t overmix. Once the eggs go in, mix just until incorporated. Overmixing adds too much air into the batter, which can cause your cheesecake to puff up, then collapse or crack after baking.
Water bath = no cracks. Baking your cheesecake in a water bath (also called a bain-marie) provides gentle, even heat and reduces the chances of cracking. It may seem fussy, but it’s worth it. Wrap your springform pan tightly with foil to prevent leaks and place it in a larger roasting pan filled with hot water halfway up the sides.
Don’t rush cooling. One of the biggest mistakes is moving the cheesecake from oven to fridge too quickly. Sudden temperature changes can cause cracks. Always let it rest in the turned-off oven for an hour, then cool at room temp before refrigerating.
Use a sharp, clean knife. For clean slices, run a sharp knife under hot water and wipe it clean between each cut. It makes a big difference in presentation, especially if you’re serving this cheesecake at a holiday dinner or special occasion.
Understanding these small but vital tips is the difference between a decent cheesecake and a spectacular one.
Perfecting the Cooking Process
The secret to a perfect New York cheesecake lies in the details—slow baking, steady temperatures, and patience. Even the best ingredients won’t shine without careful attention during baking.
Baking time and temperature are key. Stick with 325°F—not higher. A lower temp allows the batter to cook evenly and gently. Overbaking will lead to dryness and cracks, so look for signs of doneness: the edges should be set and slightly puffed, while the center should still jiggle like Jell-O.
Avoid opening the oven. Every time you peek, the temperature drops. Resist the urge and let the cheesecake do its thing. If your oven has a window, use it.
Cool gradually. After baking, let the cheesecake sit in the oven with the door ajar for one hour. Then remove it and let it cool on the counter. Only after it’s fully cool should you transfer it to the fridge for at least 6 hours or overnight. This gradual cooling process helps lock in the creamy texture.
Check the water bath level. Make sure there’s enough hot water halfway up the springform pan, and if it evaporates too quickly, top it off gently. The water bath acts like a buffer to maintain even baking and prevent dry edges.
Don’t panic over minor cracks. Even if your cheesecake cracks a little, it’s still going to taste amazing. Plus, toppings like fruit or whipped cream can easily cover them up. But with the right steps, cracks are rare.
Mastering this process means you’ll be turning out cheesecake after cheesecake that tastes like it came straight out of a Manhattan bakery.
Add Your Touch New York Cheesecake
One of the best things about this New York cheesecake is how easy it is to customize. Once you’ve mastered the base recipe, you can make it your own with creative flavors, textures, and seasonal touches—without sacrificing that creamy, tangy foundation.
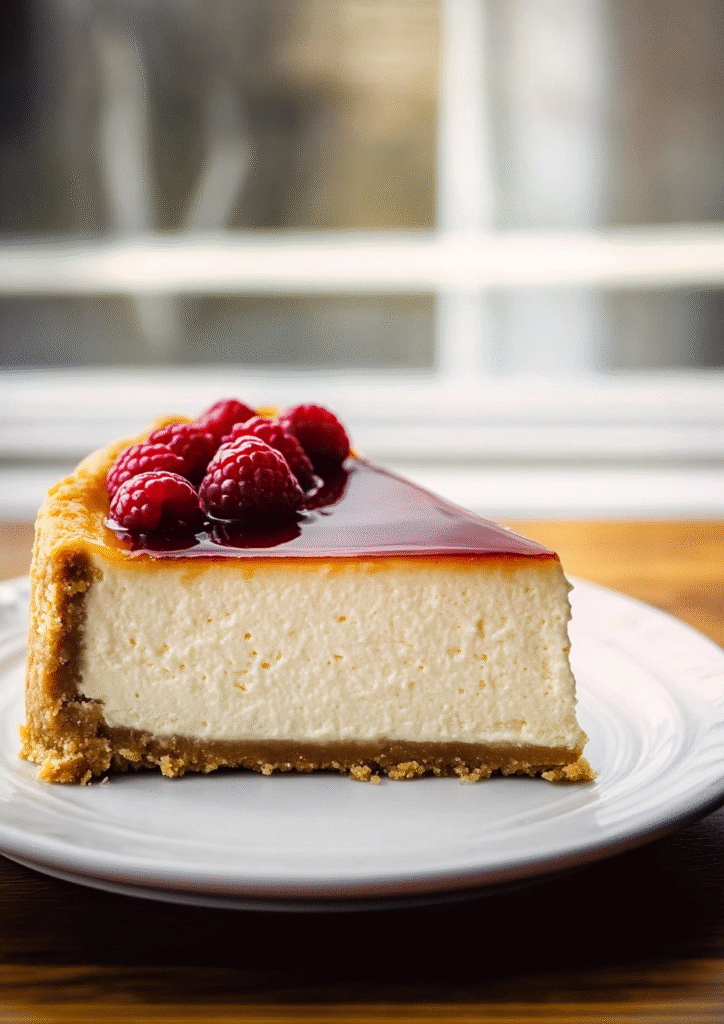
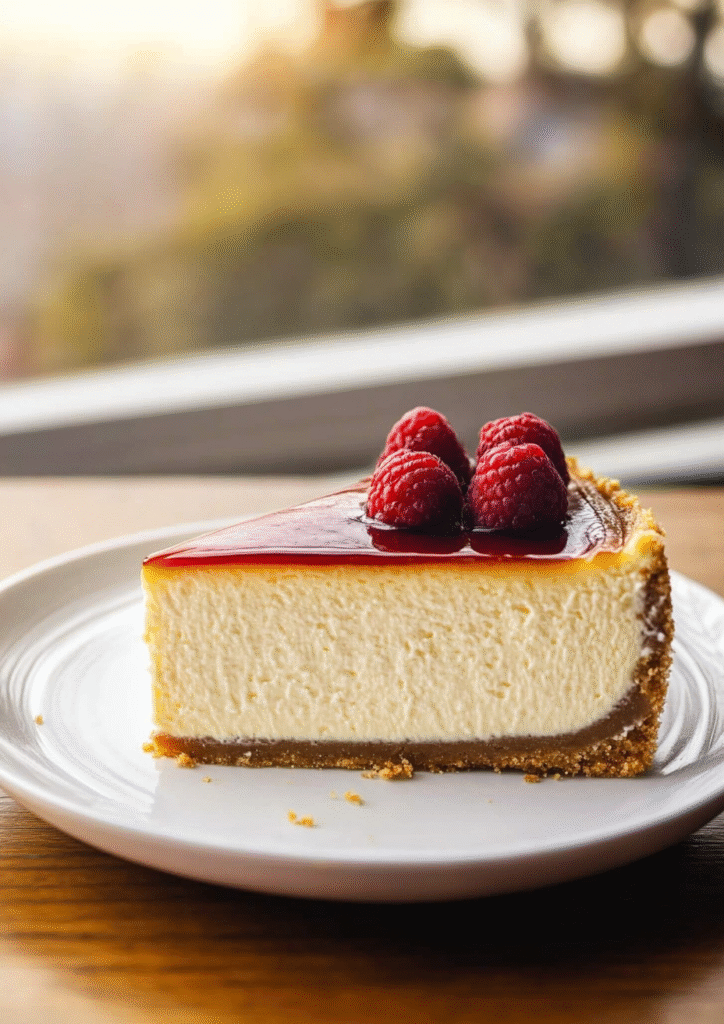
Fruit toppings are a popular choice. Fresh berries like strawberries, blueberries, or raspberries pair beautifully with the rich filling. You can spoon them on fresh or cook them down into a quick compote with just sugar and lemon juice. Want more zest? Add fresh citrus zest (lemon or orange) into the batter for a refreshing twist.
Swirls and sauces offer both visual appeal and flavor. Try swirling in a bit of raspberry puree or chocolate ganache before baking. For something extra festive during Christmas or Thanksgiving, drizzle with caramel and sprinkle crushed pecans or cinnamon sugar over the top.
Crust variations are another fun way to get creative. While graham crackers are traditional, crushed vanilla wafers, digestive biscuits, or even chocolate cookies can add a different flavor dimension. Use gluten-free cookies for a celiac-friendly version.
You can also explore flavor infusions—think matcha cheesecake, pumpkin spice cheesecake, or even a subtle hint of espresso. Just be sure to keep the balance so the bold flavor doesn’t overwhelm the classic tang.
And don’t forget presentation. A light dusting of powdered sugar, a dollop of whipped cream, or a decorative fruit ring around the edges can elevate the final look—perfect for a dinner party or special celebration.
Adding your personal touch turns a classic dessert into a signature creation. Whether you keep it simple or dress it up, your cheesecake will always be a standout.
Storing & Reheating
Cheesecake is a great make-ahead dessert, and it stores beautifully—if you do it right. Here’s how to keep it fresh and delicious, whether you’re saving leftovers or prepping ahead of time.
Delight your guests with these unforgettable recipes
Refrigeration is a must. Once fully cooled, cover your cheesecake with plastic wrap or foil and store it in the fridge. It will stay fresh for up to 5 days. For best flavor and texture, keep it chilled until ready to serve.
For longer storage, freeze it. Slice the cheesecake or leave it whole. Wrap it tightly in plastic wrap, then in foil, and store in an airtight container or freezer-safe bag. It can be frozen for up to 2 months. When ready to enjoy, thaw overnight in the fridge.
Avoid microwaving. Cheesecake doesn’t reheat well in the microwave—it can become rubbery. If you prefer to serve it slightly warm, let it sit at room temperature for about 30 minutes instead.
Serving tip: For clean slices, run your knife under warm water and wipe clean between cuts. Serve straight from the fridge for a firmer texture or let it soften slightly for a silkier bite.
These simple storage and reheating tips will help your cheesecake stay fresh, flavorful, and fabulous—whether you’re serving it tonight or next month.
Chef’s Helpful Tips FOR New York Cheesecake
Even a simple cheesecake can feel intimidating—but don’t worry, these expert tips will help you nail it every time and avoid the common mistakes that can lead to disappointment.
1. Use quality cream cheese. This is the star ingredient, so don’t skimp. Use full-fat, brick-style cream cheese (not whipped or spreadable). Brands like Philadelphia are widely trusted for a reason—they deliver consistent, creamy results.
Elevate your meals with these chef-inspired recipes
2. Don’t skip the flour. Just a tablespoon or two of flour helps stabilize the cheesecake, making it less likely to crack and easier to slice cleanly. It also adds a subtle structure without affecting flavor.
3. Watch the mixing. Once you add the eggs, beat gently. Overmixing adds air bubbles, which can expand in the oven and collapse afterward, leaving cracks or a sunken center.
4. Seal the pan well. Wrap the bottom and sides of your springform pan with a double layer of foil to prevent water from seeping in during the water bath. Leaks can ruin the crust and texture.
5. Don’t rush the chill time. Cheesecake needs to chill for at least 6 hours, ideally overnight. This helps it fully set and develop that creamy, firm texture we all love.
6. Use a cooling rack. After baking, allow your cheesecake to cool on a rack before moving it to the fridge. It helps circulate air and prevents condensation on the surface.
7. Clean slicing for presentation. Dip a sharp knife in warm water and wipe clean between each slice. It may seem small, but it makes each slice look photo-ready.
With these pro tips, your cheesecake will taste amazing and look bakery-perfect. Whether it’s your first time or your fiftieth, these small steps lead to big results.

FAQ FOR New York Cheesecake
Can I make this cheesecake ahead of time?
Yes! In fact, it’s better that way. Cheesecake tastes best after chilling overnight. Make it 1–2 days in advance for easy entertaining.
Do I really need a water bath?
Yes, for best results. It ensures even baking and prevents cracking. If you’re worried about leaks, place a pan of water on the rack below your cheesecake instead—less effective, but better than skipping it entirely.
Find your new favorite recipe for any occasion
Can I freeze New York cheesecake?
Absolutely. Freeze whole or in slices. Wrap tightly and freeze for up to 2 months. Thaw overnight in the fridge before serving.
What if my cheesecake cracks?
No problem! It’ll still taste great. Cover with fruit, whipped cream, or ganache if you’d like. Cracks usually result from overbaking or rapid cooling.
Can I use non-dairy ingredients?
Yes, there are dairy-free versions of cream cheese and sour cream. Just note that the flavor and texture may change slightly.
Why is the center jiggly? Is it underbaked?
Nope! A slight jiggle in the center is perfect. The cheesecake will continue to set as it cools. Don’t bake until firm or you’ll end up with a dry, overdone dessert.
These answers will help boost your cheesecake confidence and guarantee a delicious outcome every time.
Conclusion
There’s something truly special about a homemade New York cheesecake—the richness, the creaminess, the subtle tang, and that irresistible smooth texture. It’s a dessert that never goes out of style and always impresses, whether you’re celebrating a holiday like Thanksgiving or Christmas, hosting a dinner party, or simply indulging yourself with a decadent treat.
By following the tips and steps in this guide—from using quality cream cheese and mastering the water bath to allowing plenty of chill time—you’ve got everything you need to create a bakery-style cheesecake at home. And the best part? It’s completely customizable. Top it with fruit, swirl in chocolate, or enjoy it just as it is—simple and elegant.
This recipe skips unnecessary fillers and avoids ingredients like pork, alcohol, or salami, keeping it family-friendly and accessible to a wider range of dietary needs. It’s all about pure flavor and timeless texture.
So whether you’re a seasoned home baker or trying your hand at cheesecake for the first time, know that success is just a few careful steps away. Stick to the basics, pay attention to details, and don’t rush the process. You’ll end up with a dessert that not only looks stunning but tastes unforgettable.
Now grab a fork—and get ready to savor every bite of the perfect New York cheesecake you made from scratch. You earned it!
Easy Steps To Make The Perfect Rich and Creamy New York Cheesecake
Description
Classic New York cheesecake with a rich, creamy texture and subtle tang. Perfectly balanced sweetness and smoothness make it a timeless dessert.
Ingredients
Instructions
Preheat oven to 325°F. Mix graham crumbs, sugar, and melted butter. Press into a 9-inch springform pan. Bake 10 minutes, then cool.
Beat cream cheese until smooth. Add sugar and flour; mix well. Blend in sour cream and vanilla. Add eggs one at a time, mixing gently. Fold in heavy cream.
Wrap pan with foil, pour filling over crust. Place in roasting pan, add hot water halfway up sides. Bake 1 hour 15 minutes until edges set and center jiggles slightly.
Turn off oven; leave cheesecake inside with door slightly open for 1 hour. Cool completely, then refrigerate at least 6 hours or overnight before serving.
Notes
- Use room-temperature ingredients for a smooth batter.
Be gentle when mixing eggs to avoid cracks.
Water bath prevents cracking and ensures even baking.
For clean slices, dip knife in hot water between cuts.